Get Started — Vercel DevOps for Jira
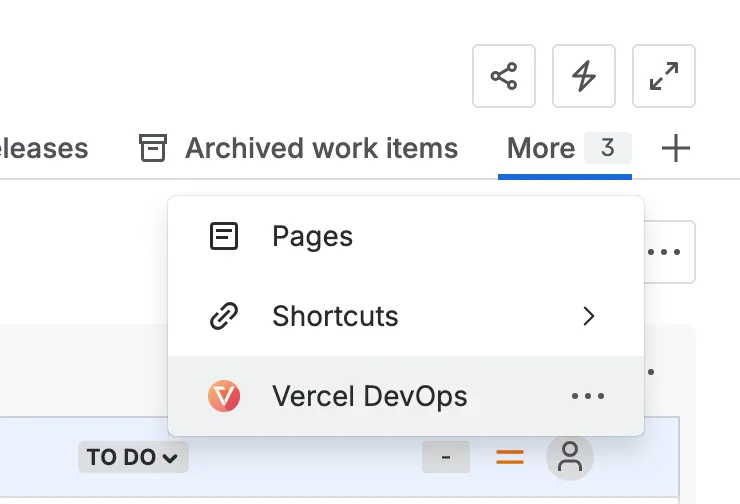
- Open any Jira project, navigate to Project Pages, and select the Vercel DevOps for Jira app:
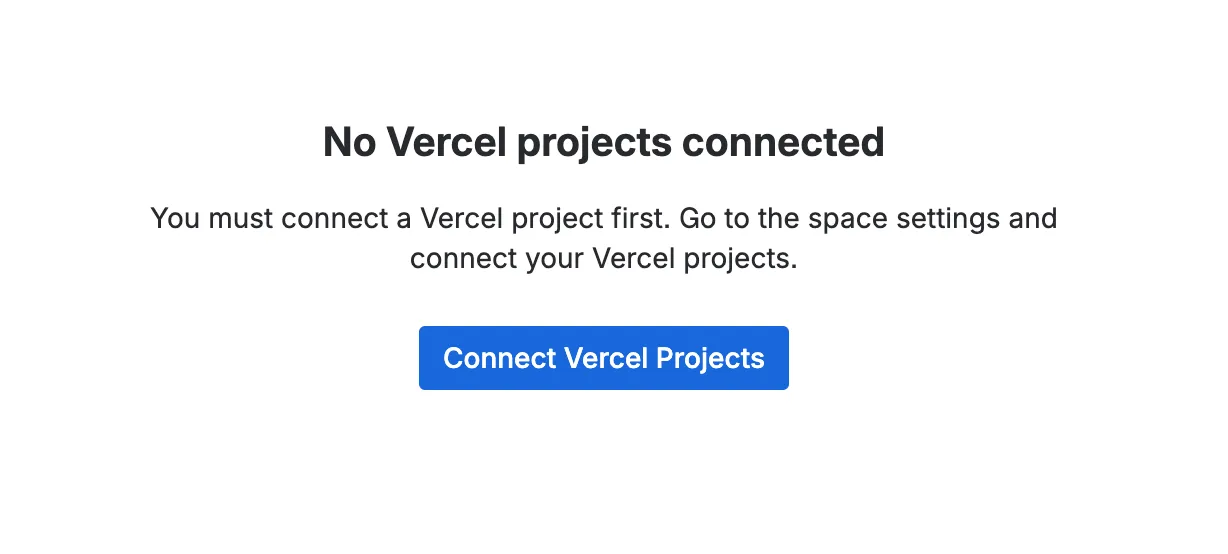
- When opening the app for the first time, you will see an empty state. You can click on “Connect Vercel Projects” to get forwarded to the project settings page.
- There, you can provide a Vercel API token to allow the app to access your Vercel projects:
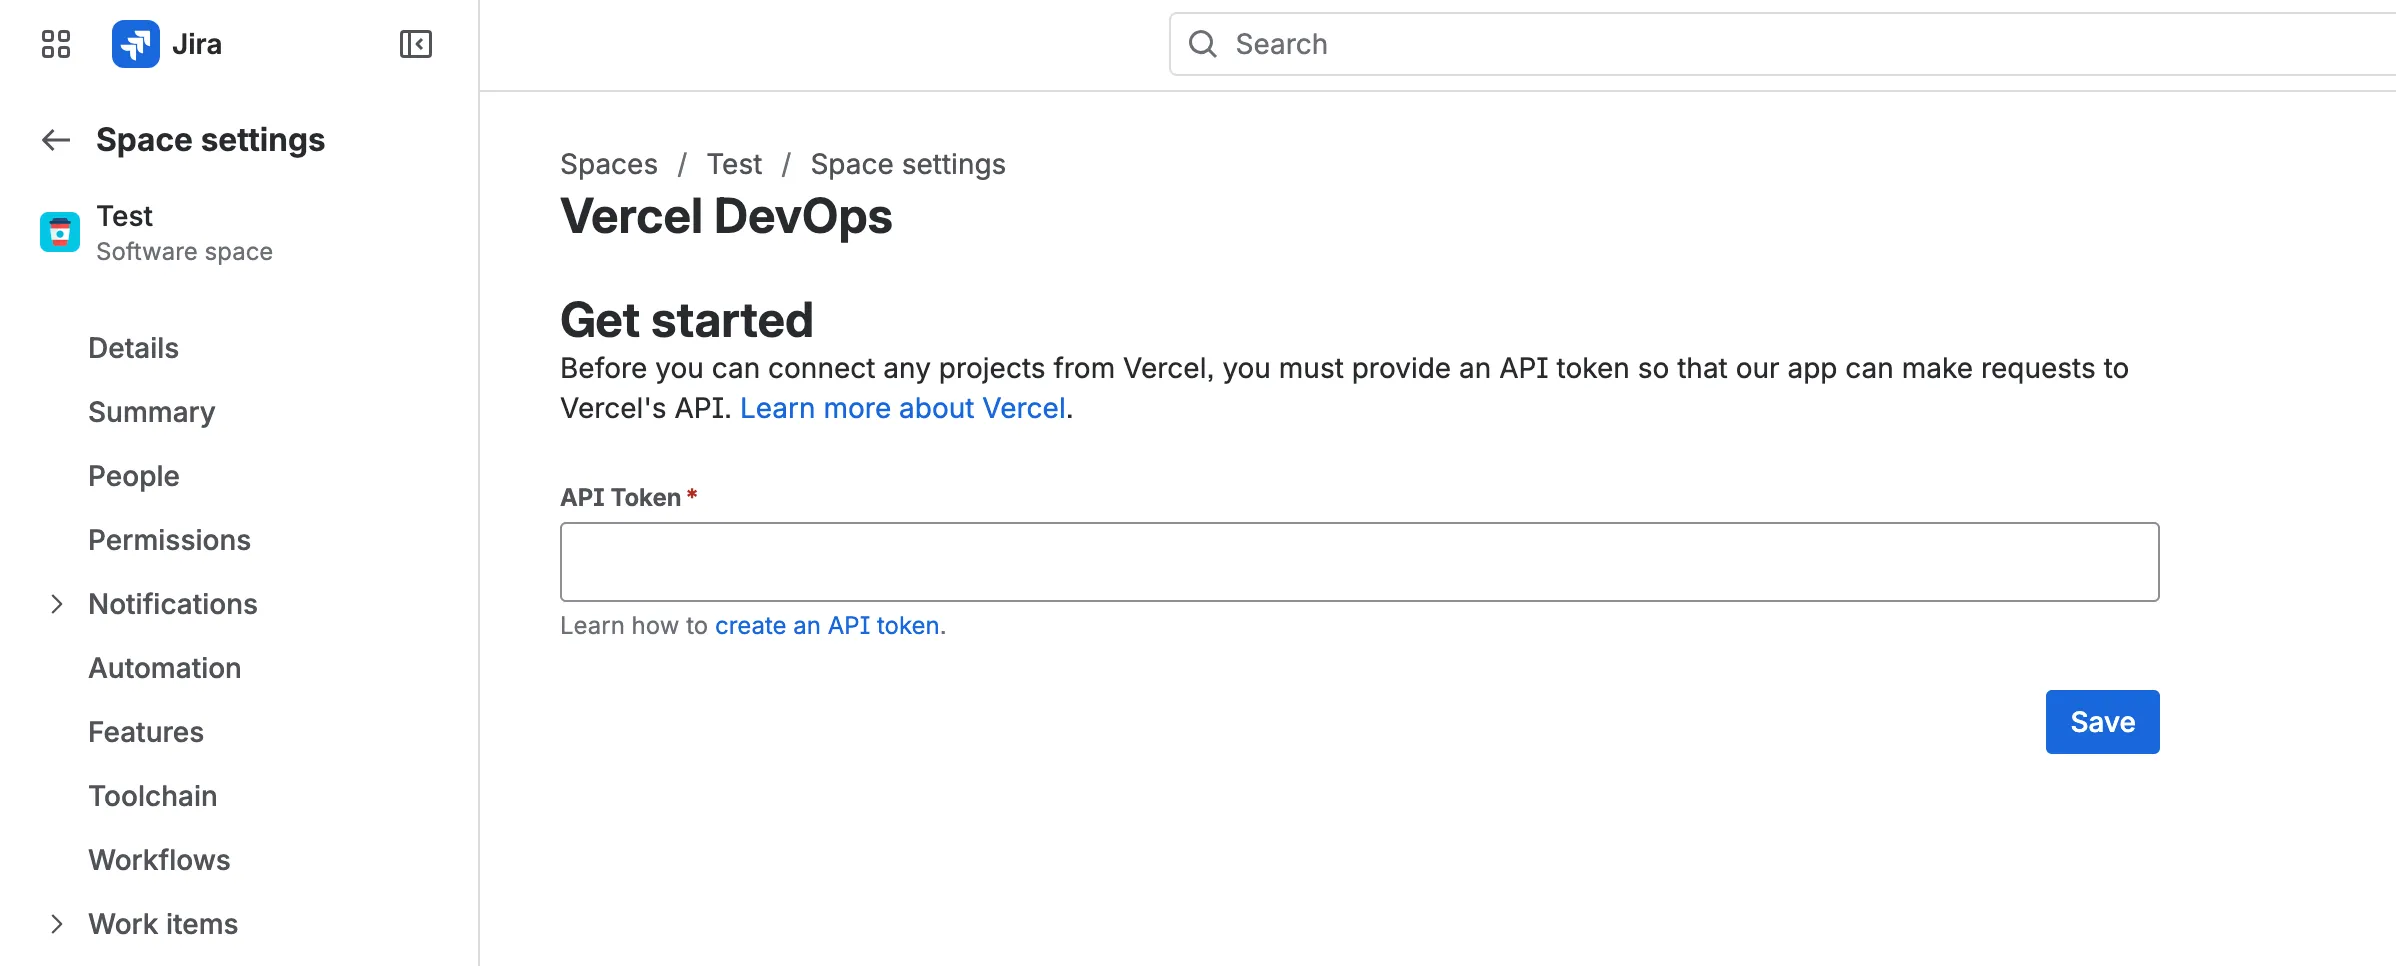
Learn how to create an API token for Vercel.
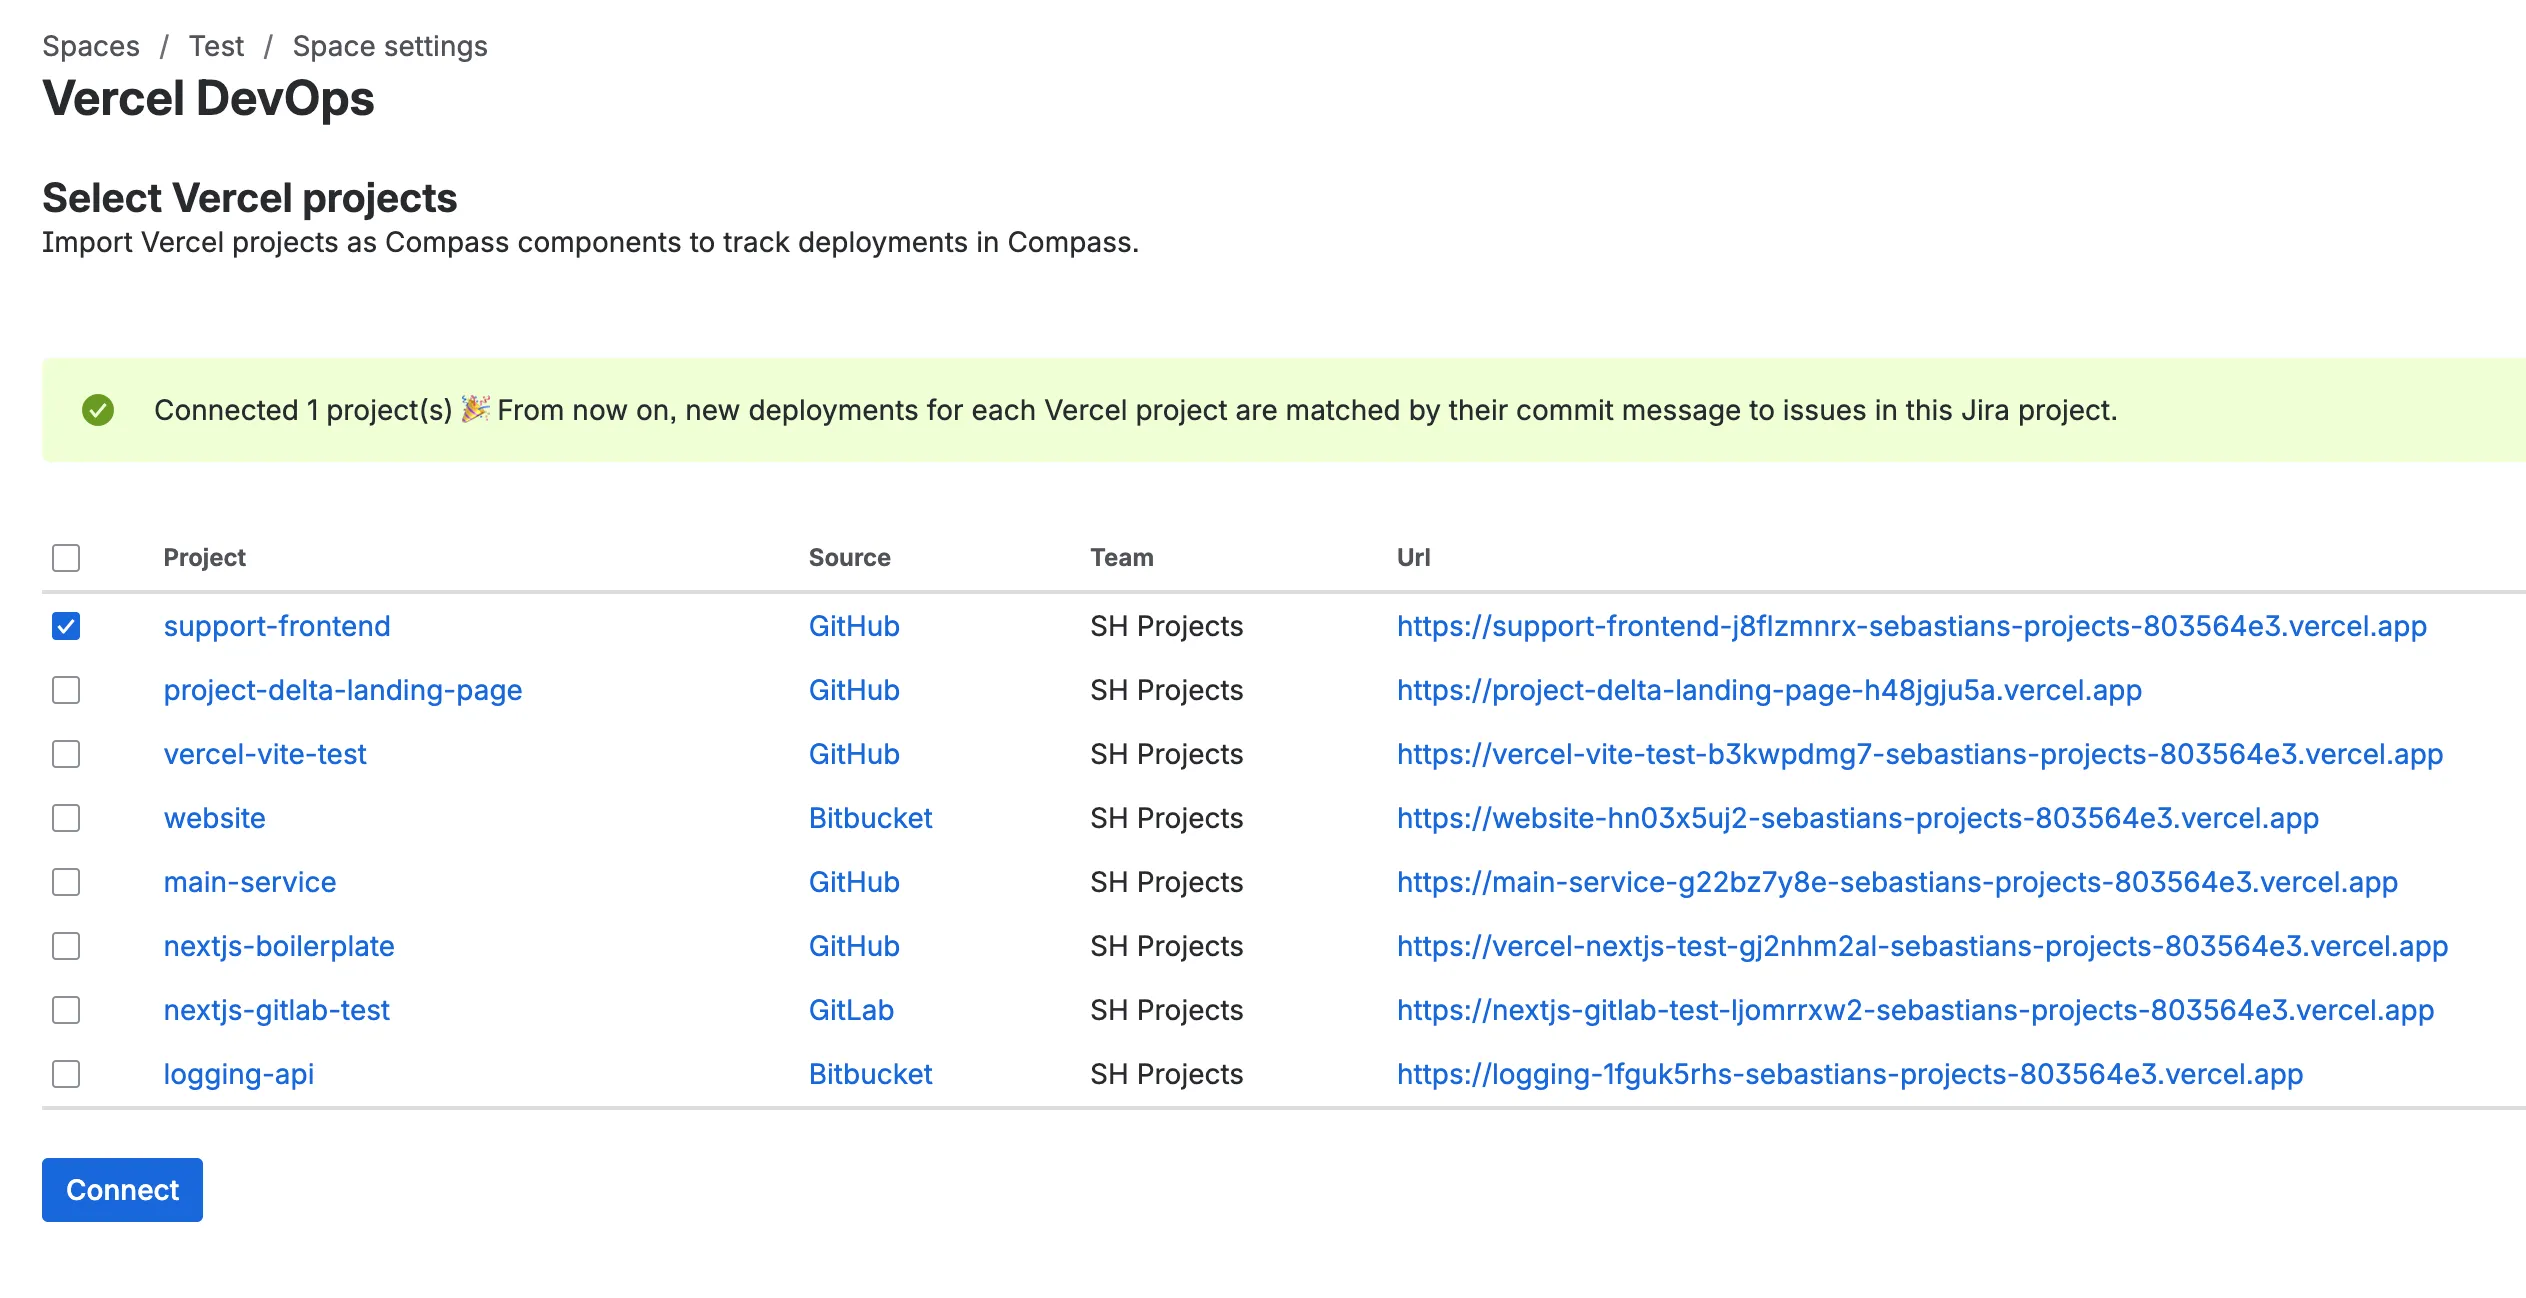
- After saving the API token, a list of available Vercel projects opens. Select the Vercel projects you’d like to connect to this Jira project:
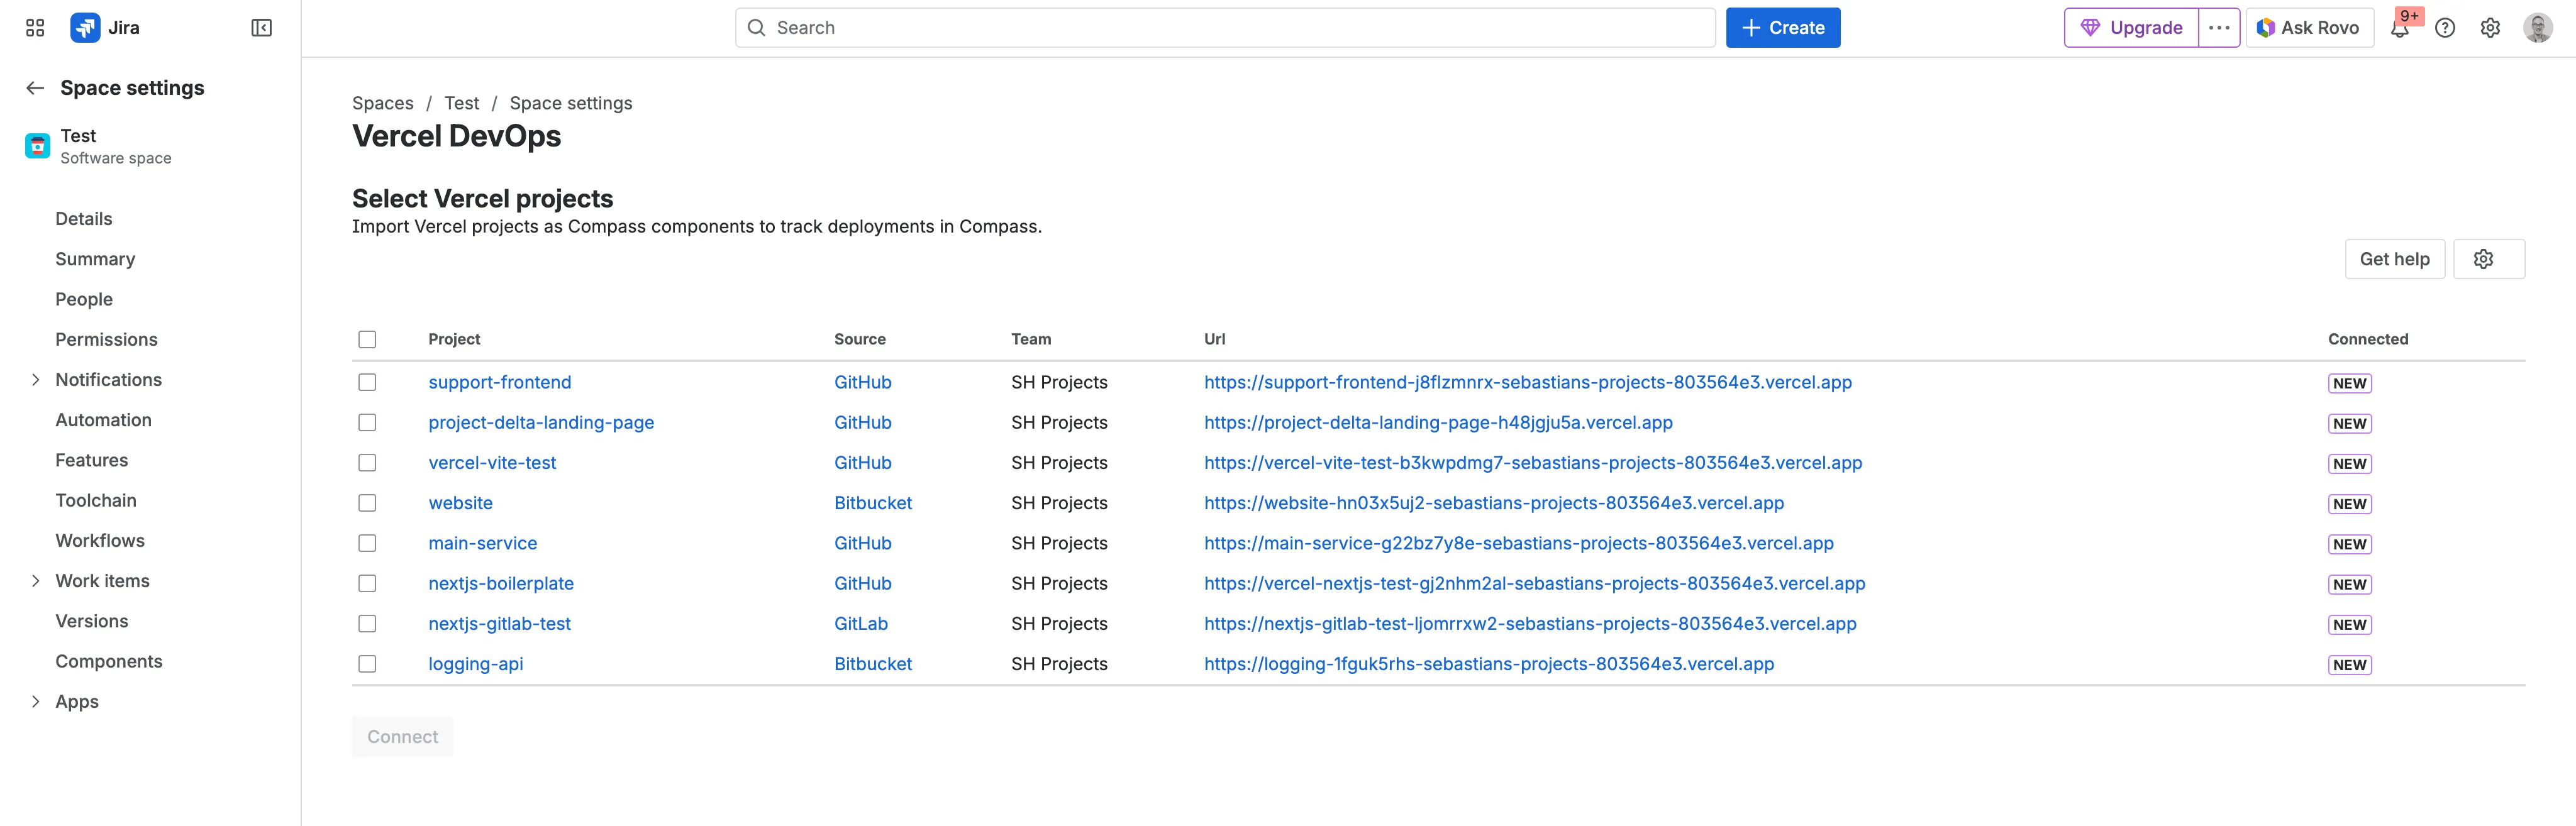
- Click “Connect” to link the selected projects:

After a successful connection, you’ll see a confirmation:
- If you go back to the project’s overview page, you’ll see all connected Vercel projects for this Jira project:

- Now you’re ready to to track deployments on issues. To do this, make a change in the Git repository in one of your connected Vercel projects. Make sure to include a Jira issue key in your commit message (e.g.
feat: setup basic website structure TEST-2):

- Once a deployment completes, the deployment information appears on the Jira issue:
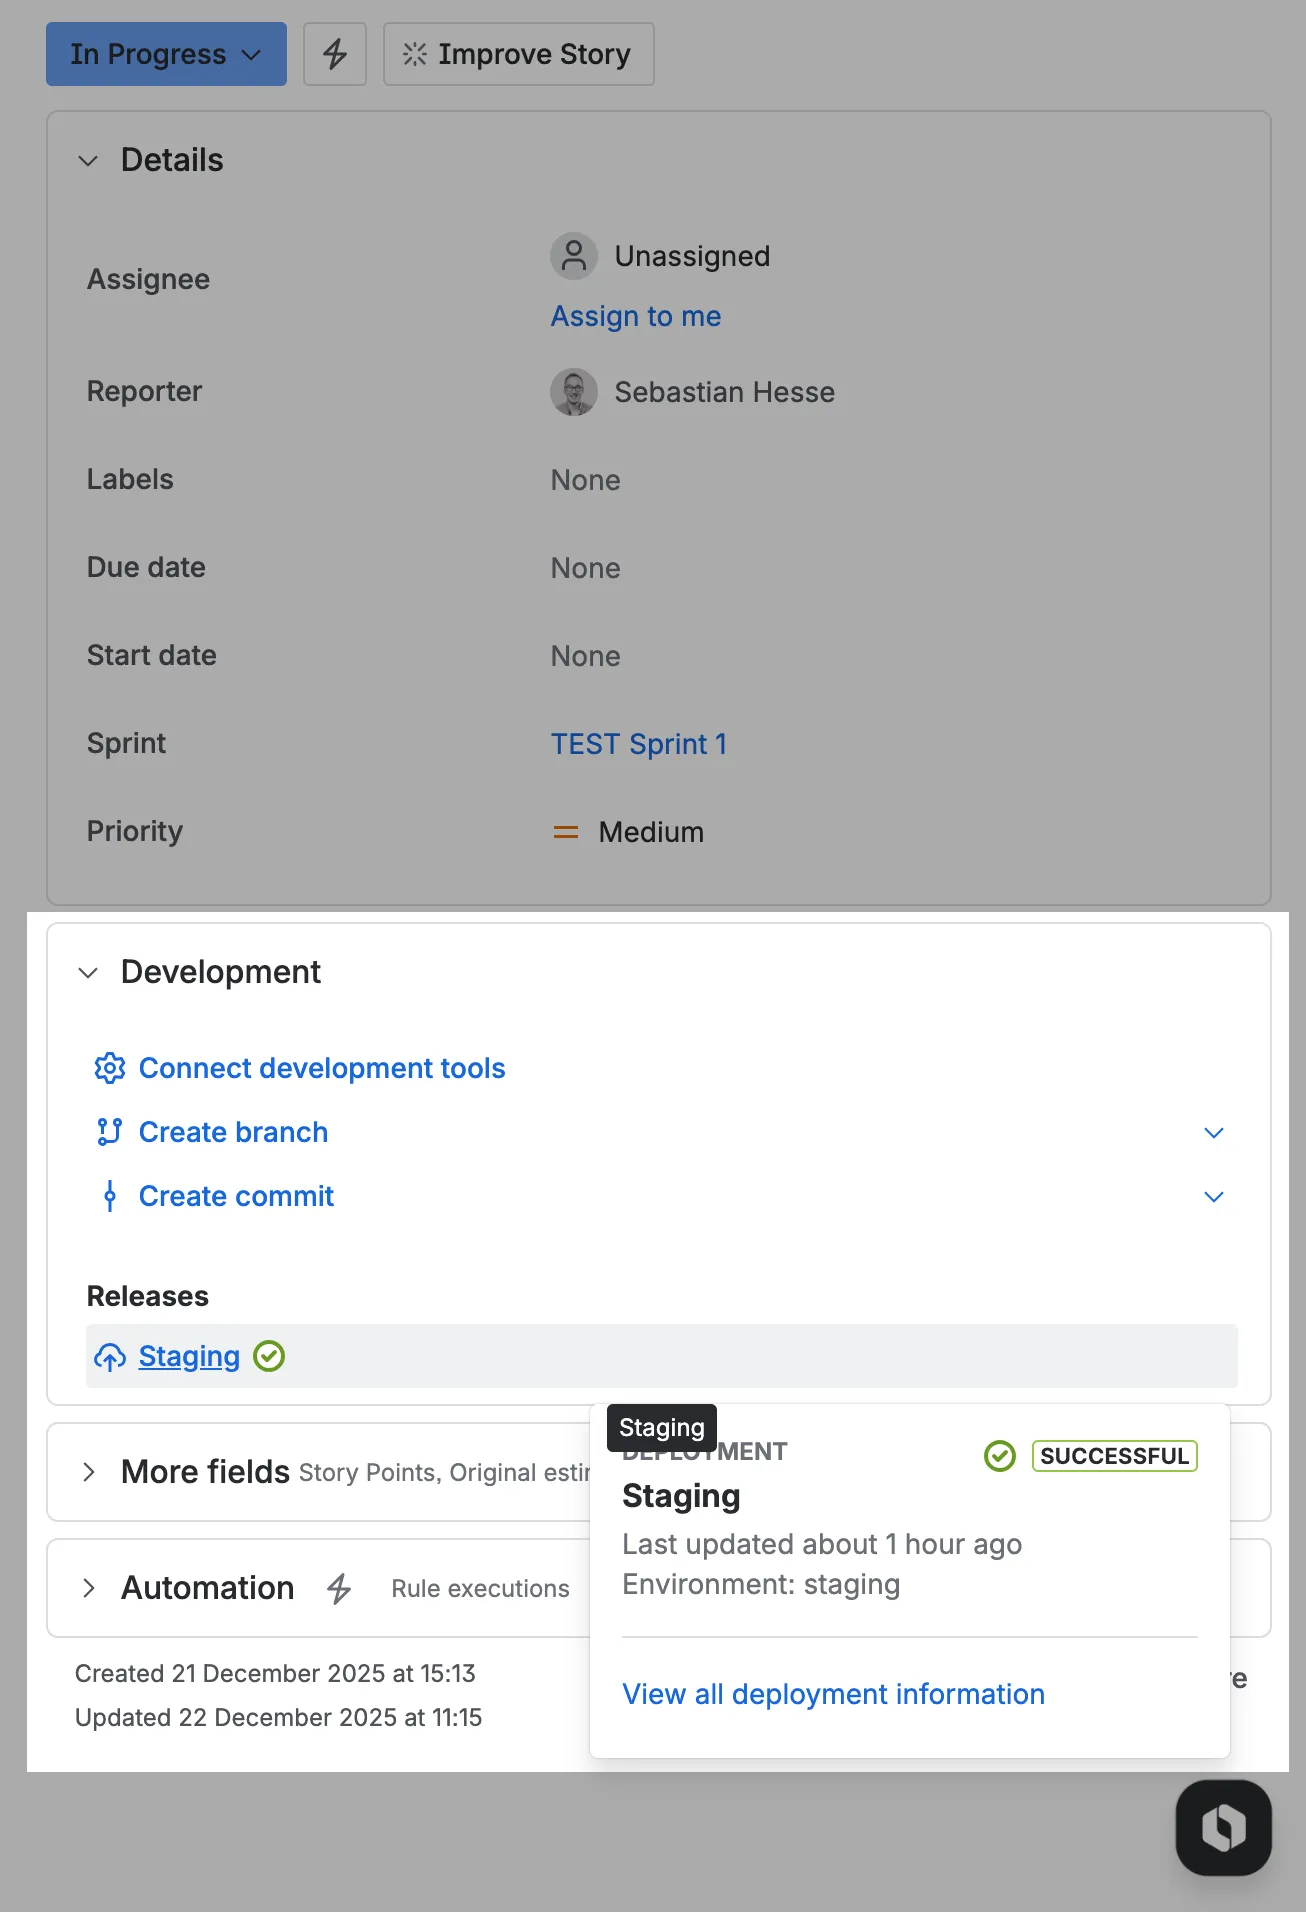
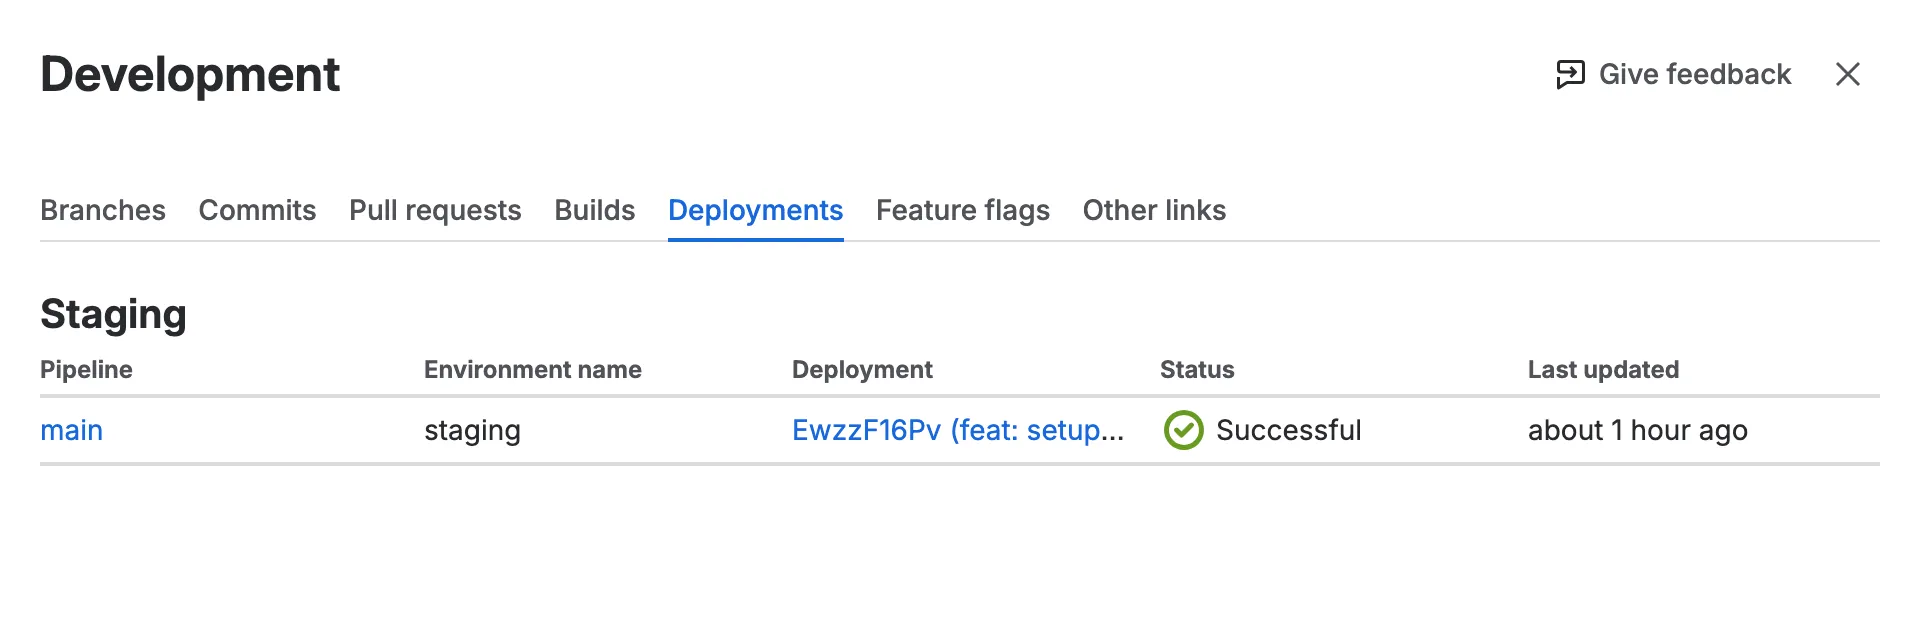
If you click on “View all deployment information”, you can view the latest deployments associated with the issue:
Now you can continue to track Vercel deployments alongside Jira issues. Also check out the smart links feature for Vercel urls that allow you to see additional information for links to a Vercel team, project or deployment inside an issue description or a comment.